
UniGui使用IconFont字体图标之前已经介绍过,UniGUi版本1.7.0.1500以后增加了Custom,使用第三方图标变得更简单了。
关于IconFont.cn的使用,请参考另一篇文章
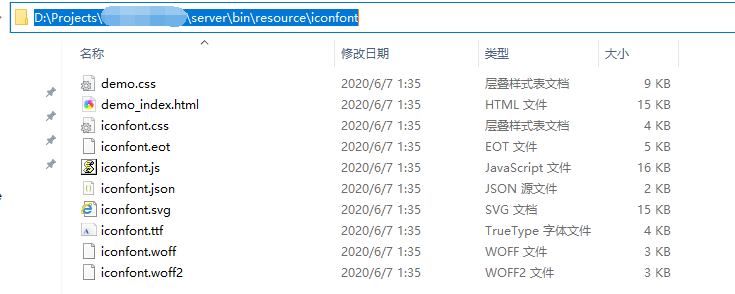
选择完自己的图标后,下载自己项目的图标文件解压,然后把解压后的文件夹复制到Unigui工程的files文件夹下(笔者喜欢放到resource下)
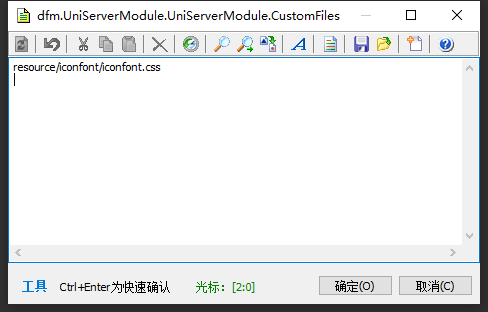
然后在uniservermodule的customfiles里添加字体的引用
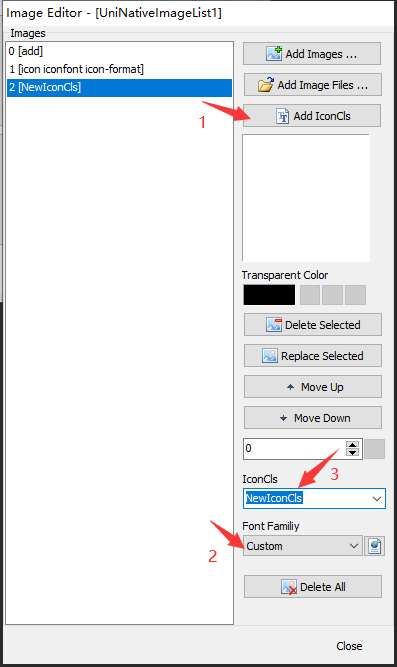
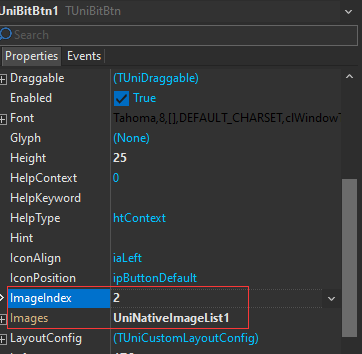
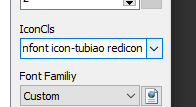
然后在UniNativeImageList里新建图标,Font Family选择Custom,IconCls填写图标名称
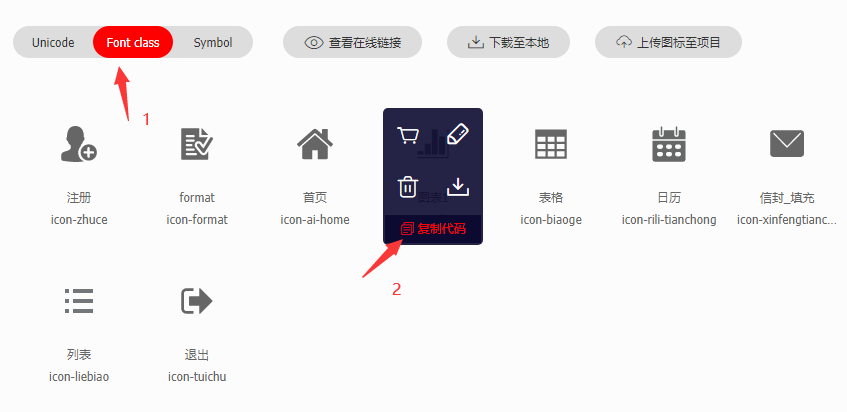
图标名称的填写方法,首先在IconFont后天鼠标悬浮到要添加的图标上,点击复制代码
然后在IconCls里 先添加 icon iconfont 然后粘贴上刚才复制的代码
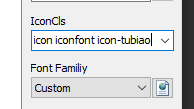
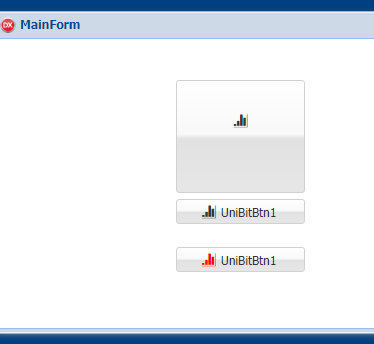
注意空格,然后就完成了图标的添加,项目中直接使用即可
就是这么简单
扩展一点,如何修改图标颜色,首先在uniservermodule的customcss里添加自定义颜色css
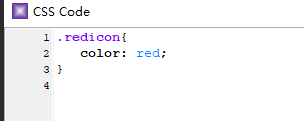
然后在UniNativeImageList添加图标的时候后面追加这个css
注意空格,然后运行
就是这么简单,还有更多骚操作,请收藏关注后续更新
Comments | 2 条评论
该评论为私密评论